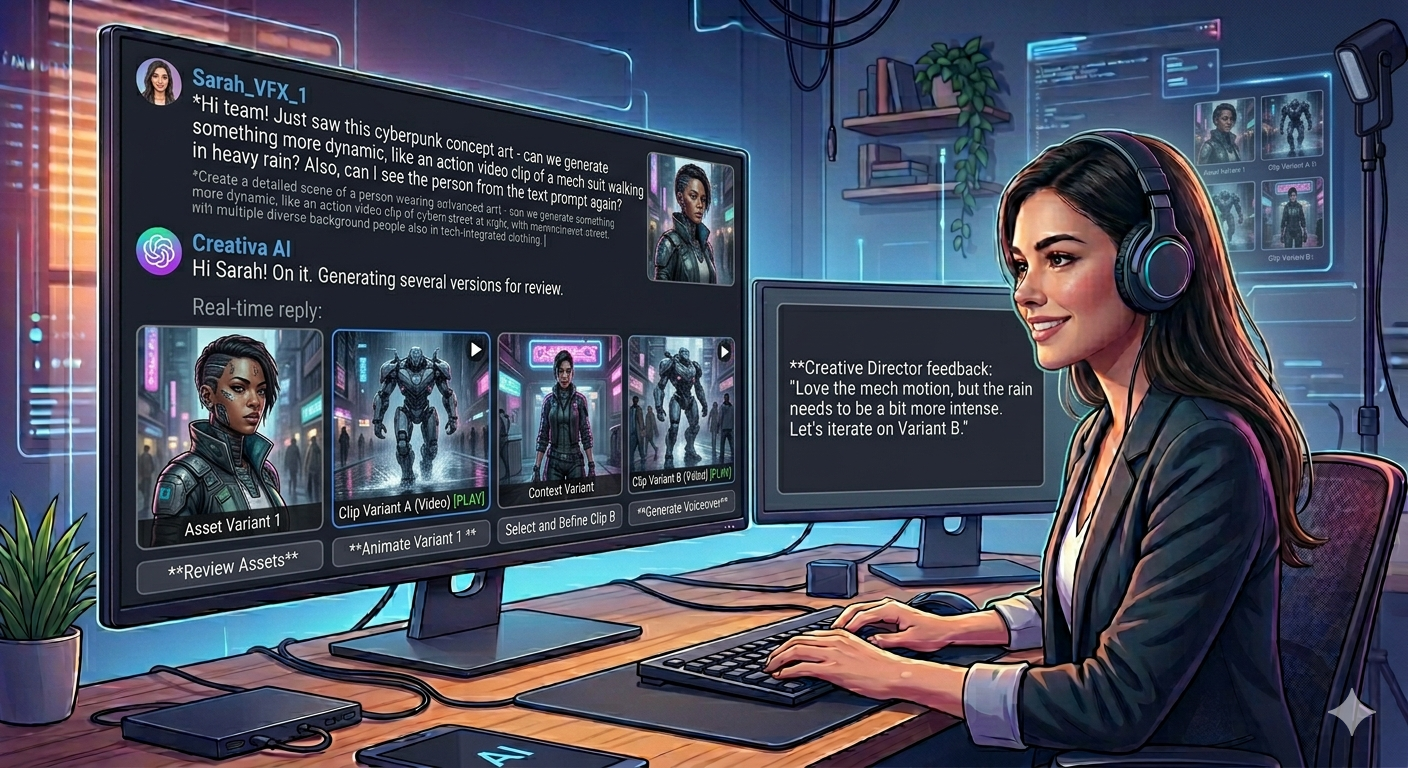
The CreativeAI Studio turns a single prompt box into six creative engines: images, video, 3D models, music, audio, and full songs. You describe what you want in plain language, and the Studio figures out the right tool, generates the result, and lets you refine it with simple follow-ups. No menus to learn, no settings to memorize.
Here's how to get the most out of it.
Start with a prompt
Type what you want the way you'd describe it to a person. The Studio reads your intent and picks the correct engine automatically.
"A neon-lit Tokyo street at night, cinematic, raining" → an image
"A 10-second clip of waves crashing on a black-sand beach" → a video
"Upbeat lo-fi hip-hop beat, 30 seconds" → music
"The sound of a heavy wooden door creaking open" → a sound effect
"Read this aloud: Welcome to the show" → text-to-speech
"Turn this into a 3D model" → a 3D object
The more detail you give, the closer the first result lands. Mention style, lighting, mood, colors, or camera angle when they matter.
Bring your own image as a starting point
You don't have to start from scratch. Upload a reference image and describe what you want done with it. The Studio can edit it, upscale it to a higher resolution, remove the background, animate it into a short video, convert it into a 3D model, redesign interiors and exteriors, add furniture, render architectural sketches, or remove unwanted objects.
Simply upload the image and explain what you'd like changed. The Studio applies those changes to the image you provided.
Refine with follow-ups
This is where the Studio shines. Every result is a starting point, not a dead end. Keep the conversation going and it remembers what you just created.
For example:
"Make it brighter and add more fog."
"Now animate that image."
"Remove the person on the left."
"Upscale the last one."
"Turn this into a 3D model."
You can say "this image," "the last one," or "the photo I uploaded," and the Studio will understand exactly which result you're referring to. Continue refining until it's exactly how you want it.
Mix engines in one flow
Because everything happens in a single prompt box, you can combine different creative workflows without switching tools.
A typical session might look like this:
Generate an image of a product on a marble table.
Refine the lighting and camera angle.
Animate the image into a short looping video.
Generate matching background music.
Each step builds on the previous one, all within the same conversation.
Tips for better results
Be specific about style. Terms like "realistic," "anime," "sketch," "painting," and "3D" produce very different results.
Make changes in small steps. Adjusting one thing at a time gives you more control.
Reference previous results naturally. Saying "Make the last image wider" is enough.
If you want real-world photos or videos, such as sports footage or news events, ask the Studio to find or show them rather than generate them. This helps ensure you get authentic media instead of AI-generated content.
Create, refine, export — all in one place
The CreativeAI Studio is built around a simple idea: you should be able to create anything from a single prompt and refine it until it's exactly right. Start with a sentence, make a few adjustments, and export when you're ready.
Open the Studio and bring your next idea to life.