Most people think AI image tools only do one thing well, they take a prompt and spit out a picture. If you do not like something in the result, you start over from scratch and hope the next version gets it right. That is not how Creative AI works.
On creativeai.chat, image creation is a conversation. You describe what you want, see the result, then tell the AI exactly what to change. No new prompt from zero, no guesswork, just small adjustments until the image matches your vision. Here is a real example showing how it works from start to finish.
Step 1, switch to Studio mode
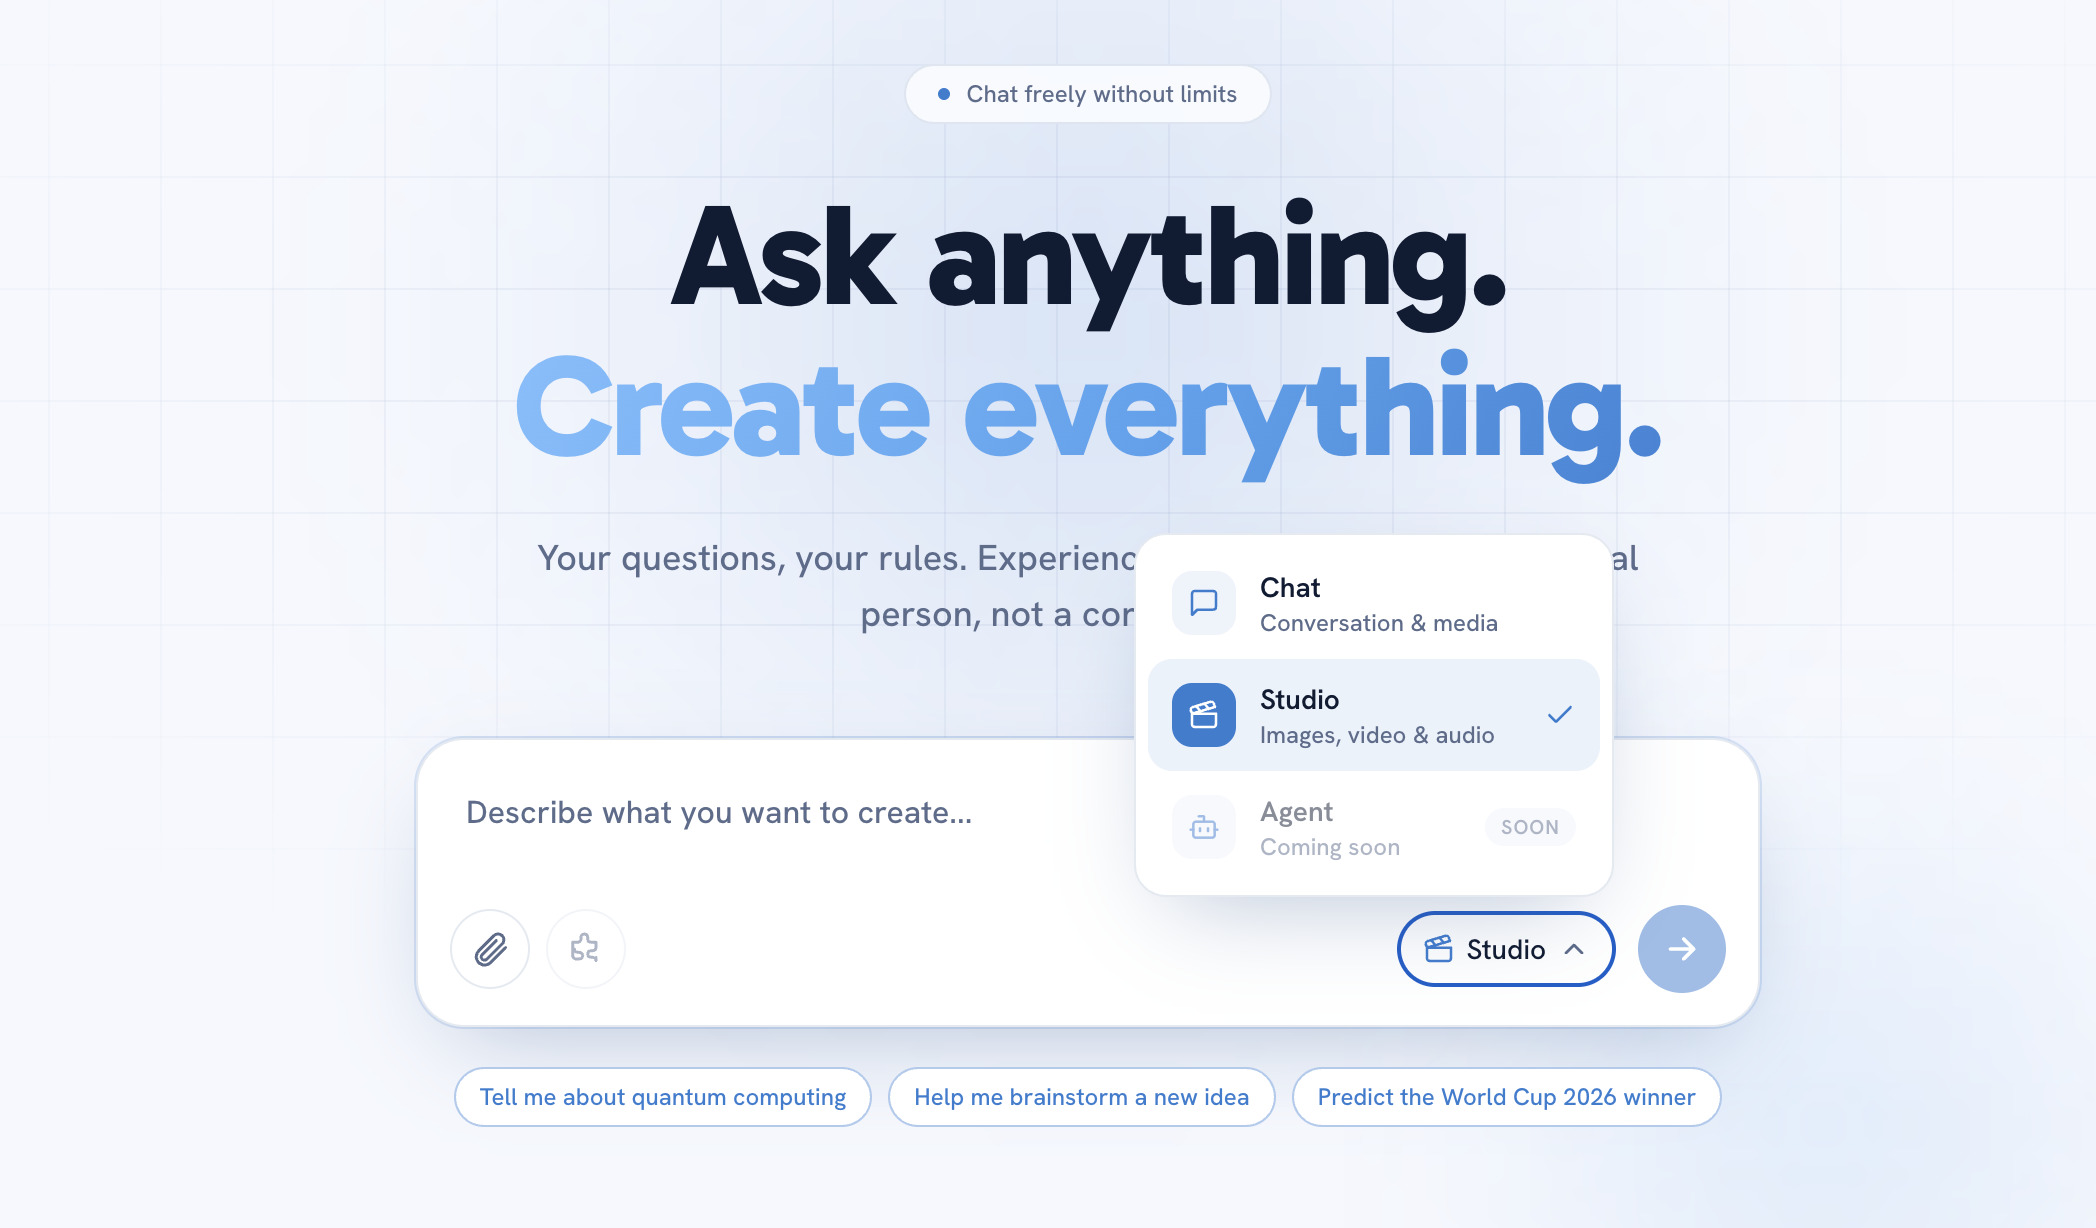
Open the chat box on Creative AI and tap the mode selector. You will see three options, Chat for conversation and media, Studio for images, video and audio, and Agent which is coming soon. Select Studio. This tells the AI you are here to create visuals, not just talk.
Step 2, describe your starting image
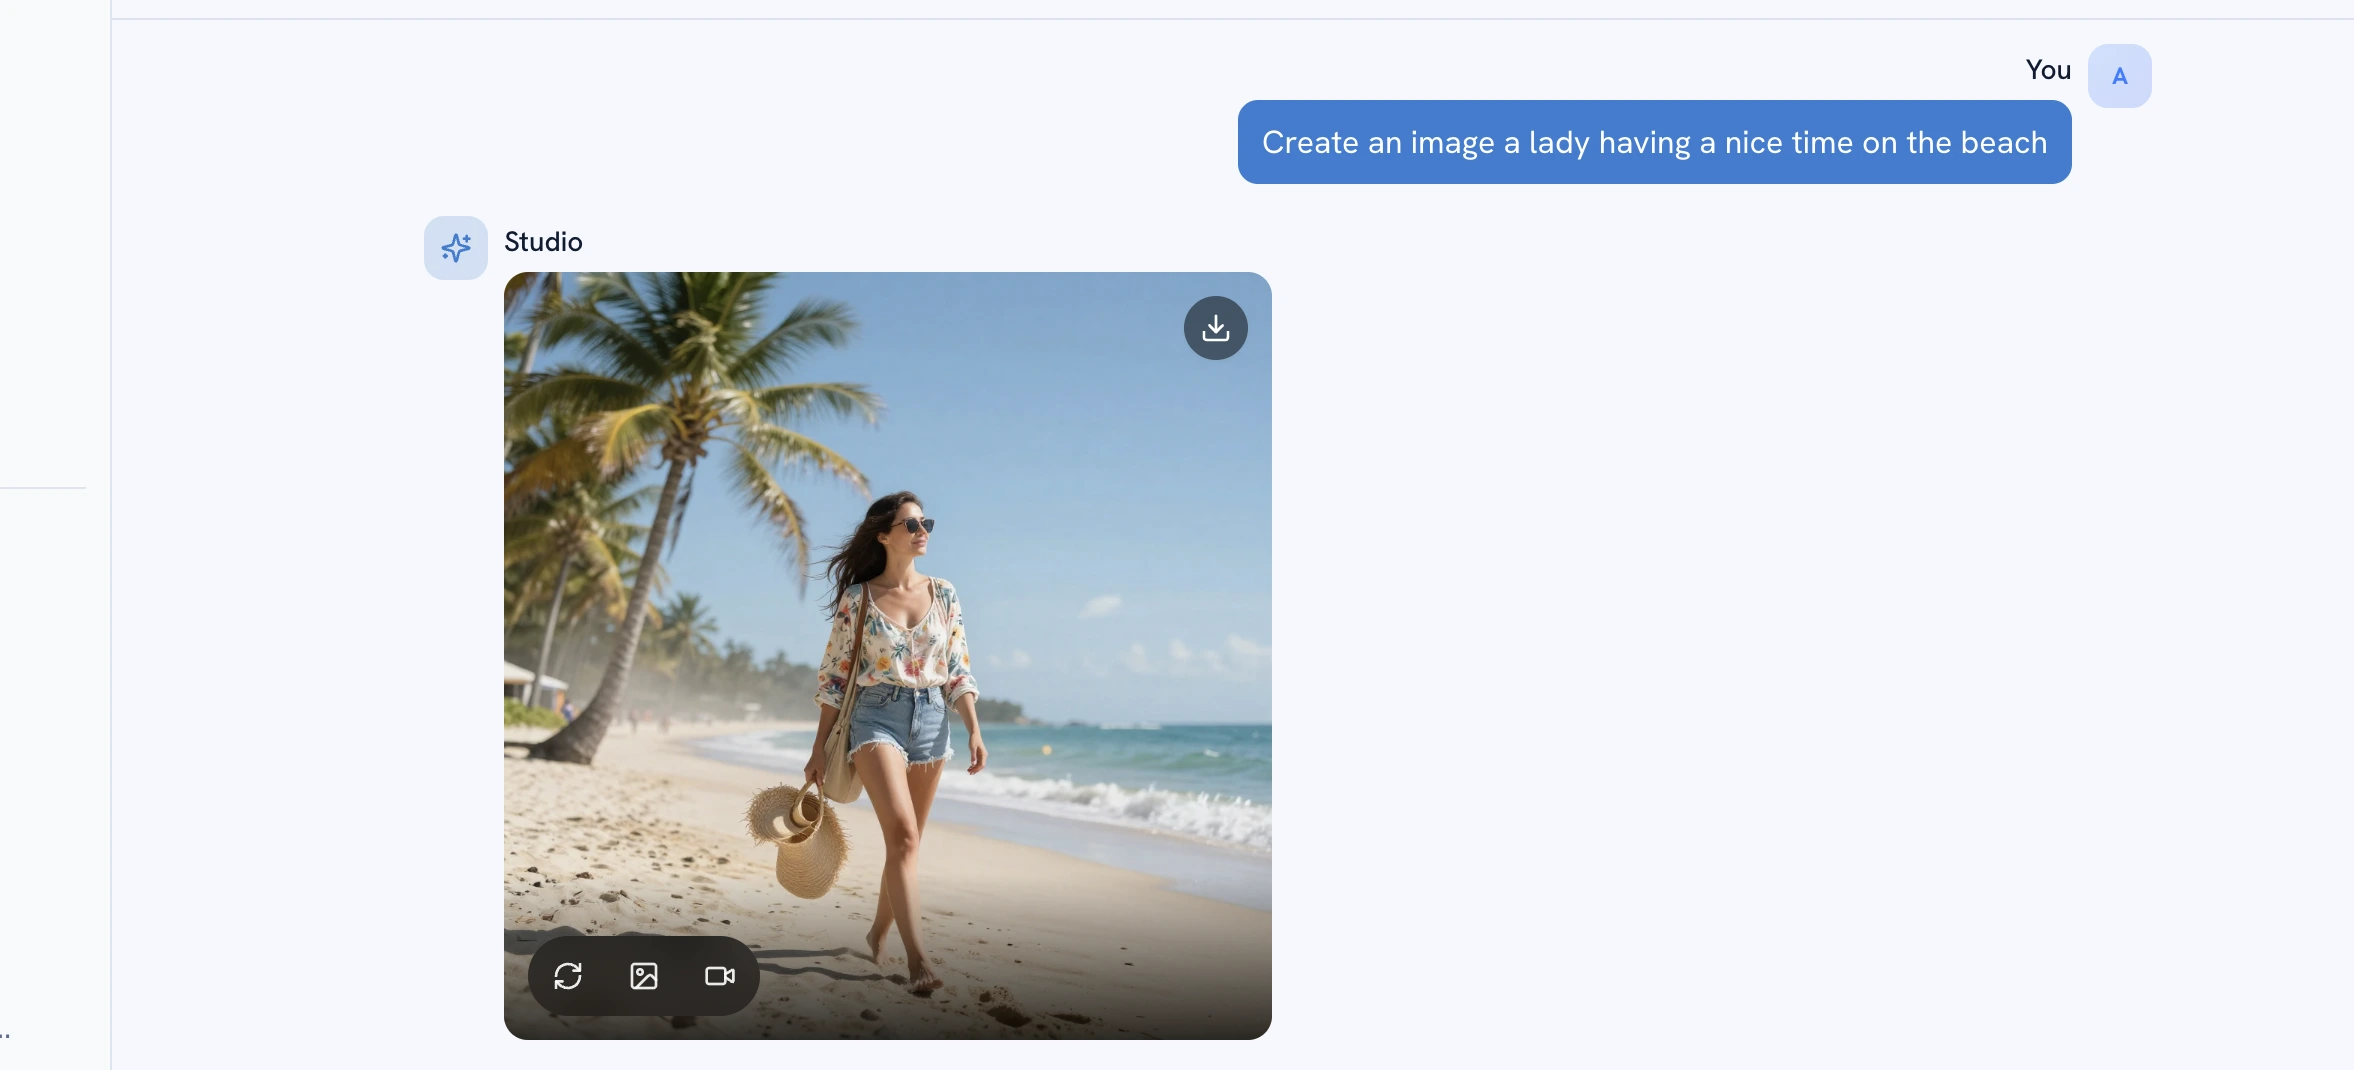
Type a simple, natural description of what you want to see. In this example, the prompt was simply create an image of a lady having a nice time on the beach. Creative AI generates a full scene in seconds, complete with lighting, mood, and detail, no technical settings required.
Step 3, refine small details with a follow up prompt
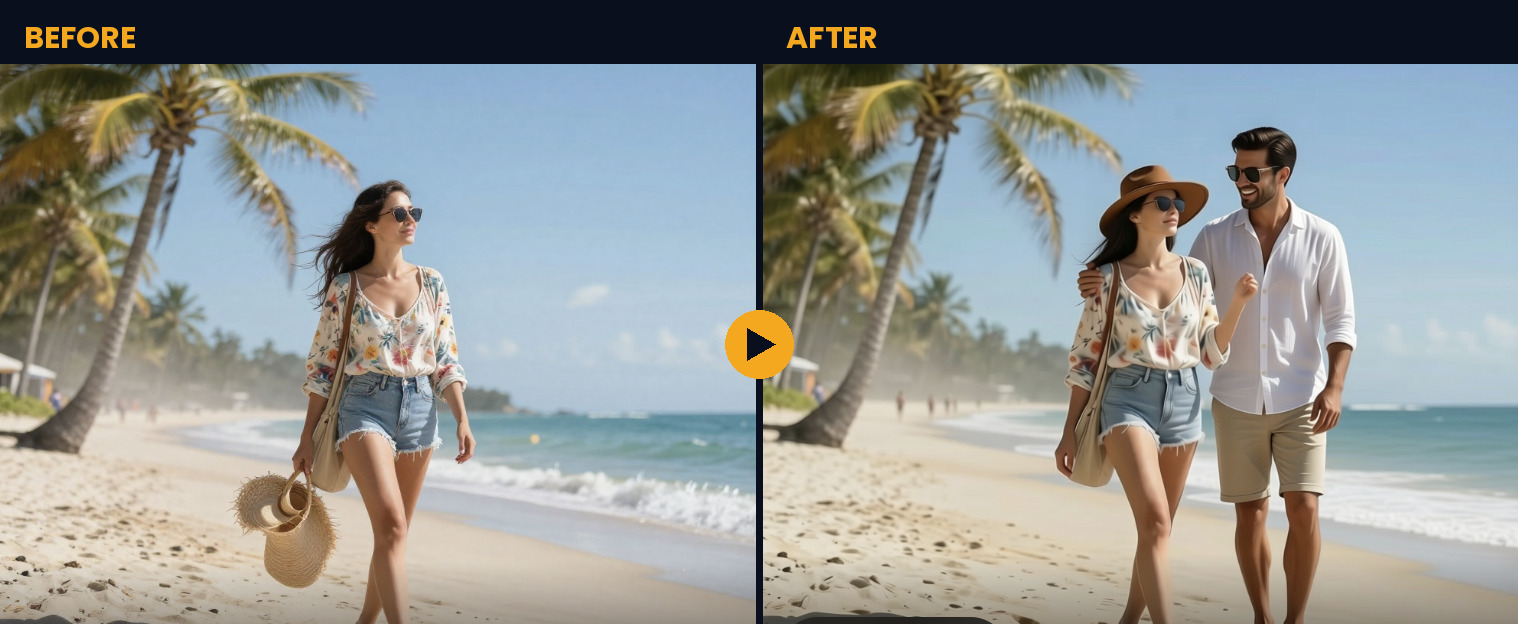
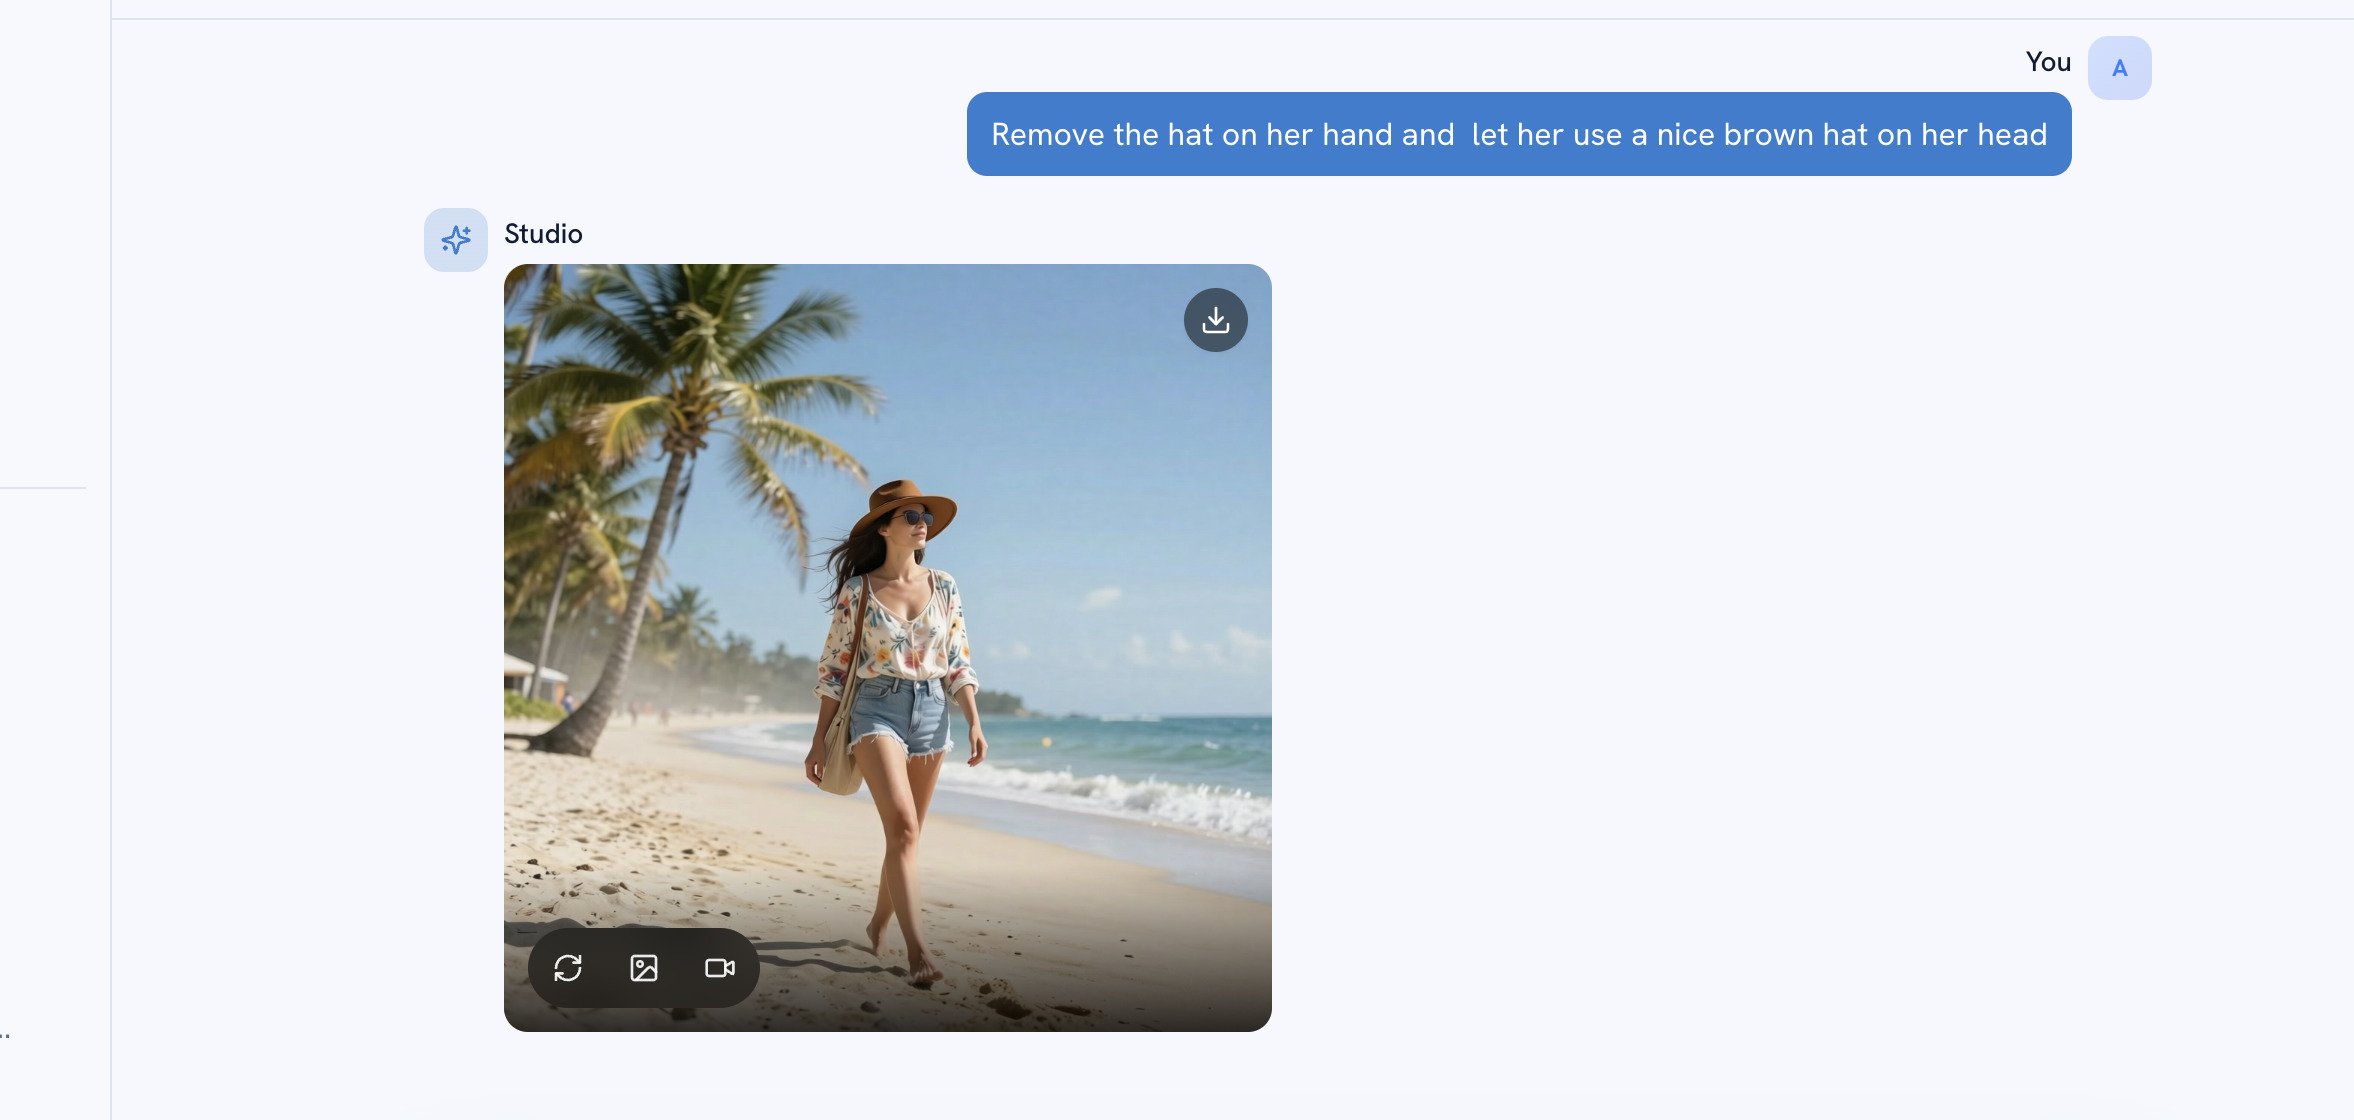
This is where Creative AI is different from most tools. Instead of regenerating the entire image, you can ask for a specific change while keeping everything else the same. Here the prompt was remove the hat on her hand and let her use a nice brown hat on her head. The AI understood the instruction and updated only that detail, the rest of the scene stayed consistent.
Step 4, add new elements to the scene
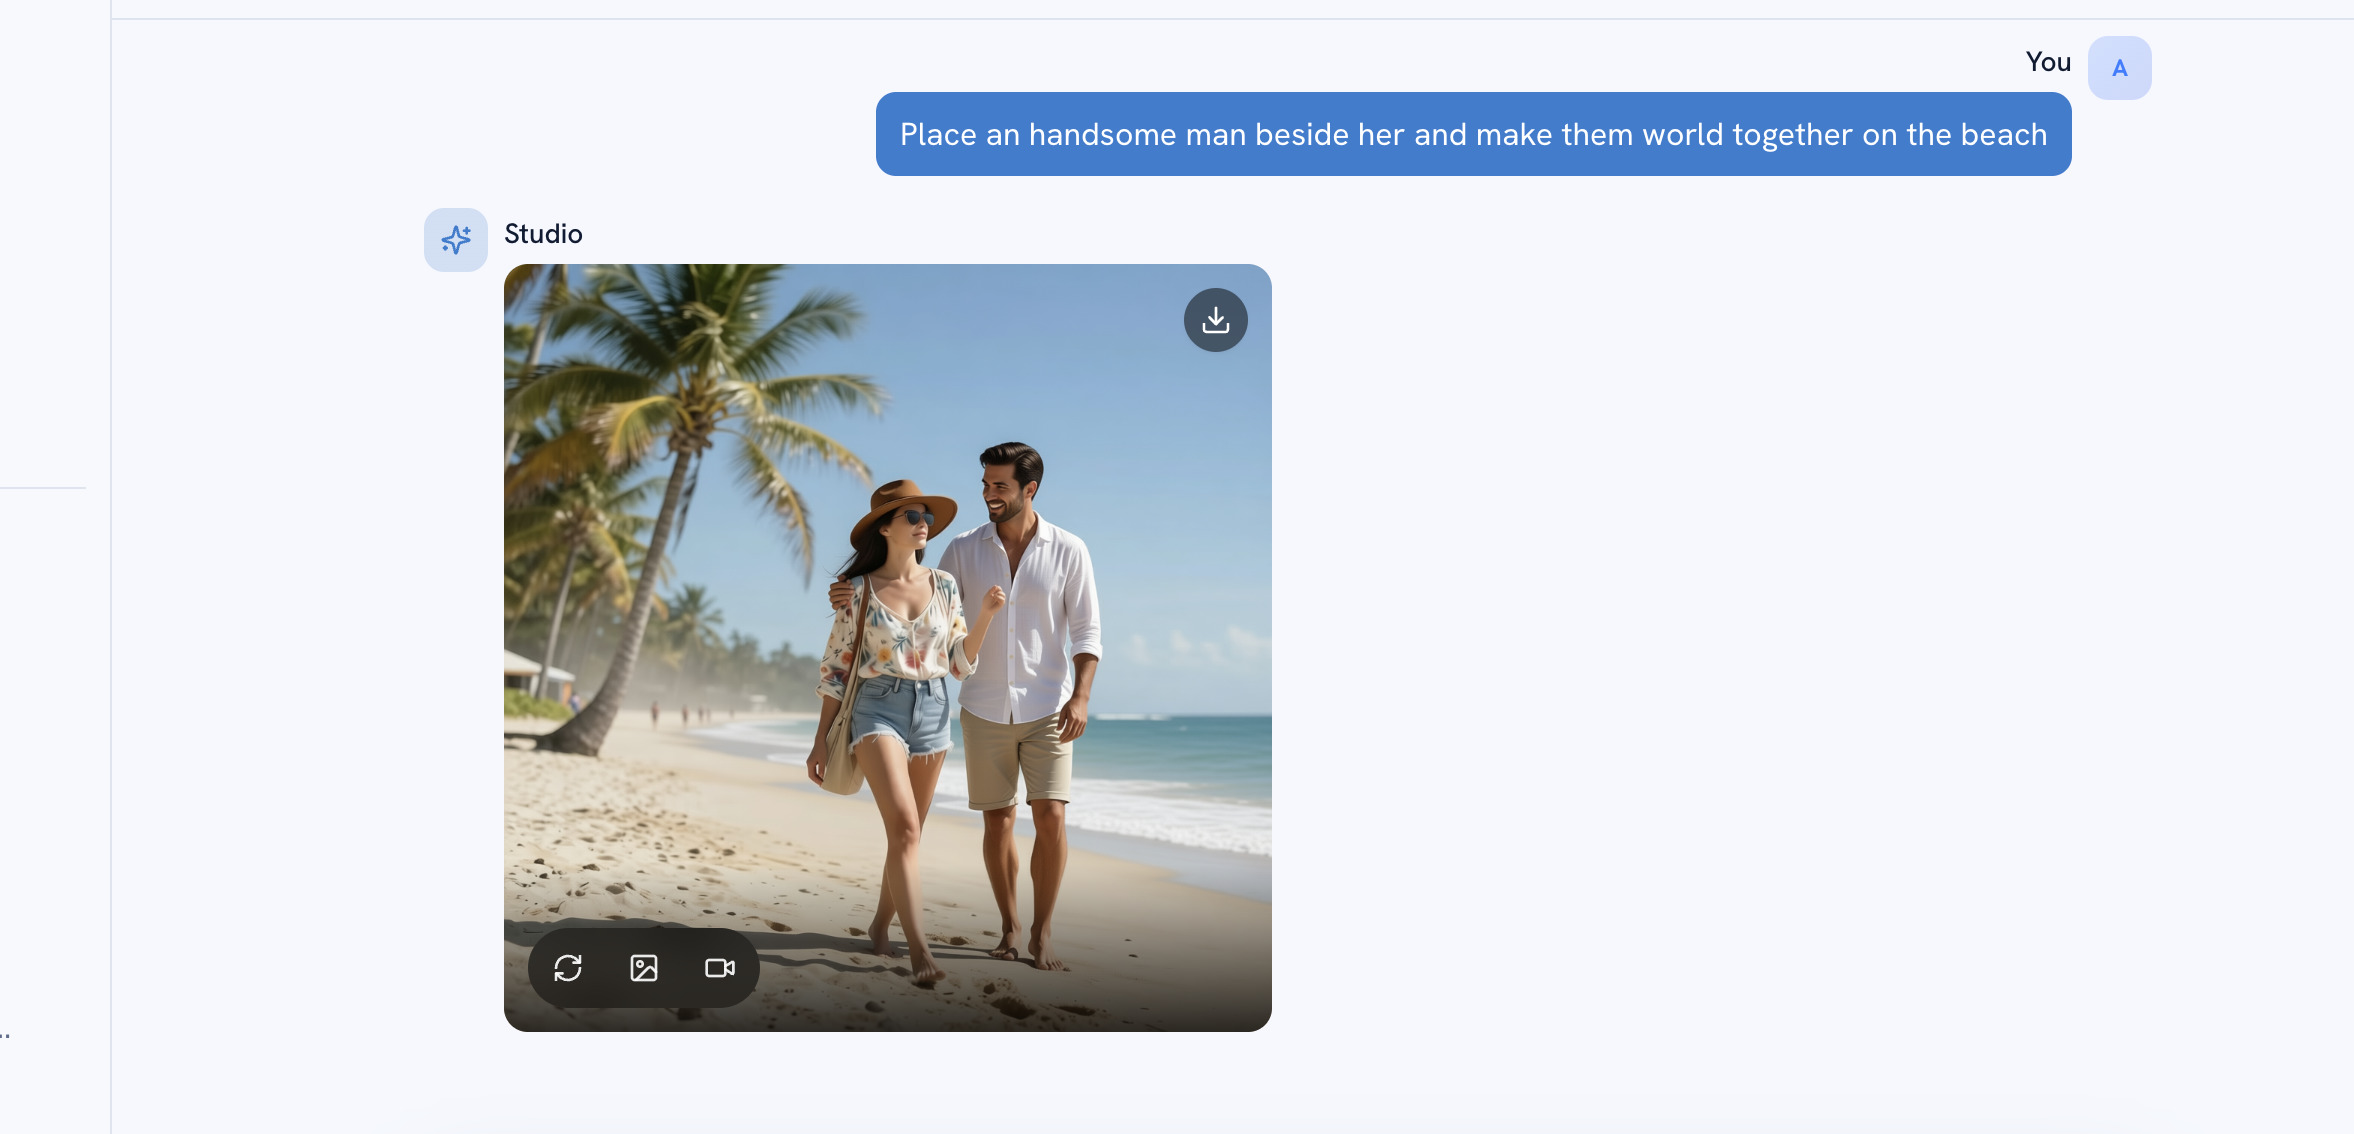
You are not limited to editing what already exists, you can also add things to the image. The next prompt asked place a handsome man beside her and make them walk together on the beach. Creative AI added a second person into the same scene, matching the lighting, style, and setting of the original photo.
Step 5, keep adjusting until it feels complete
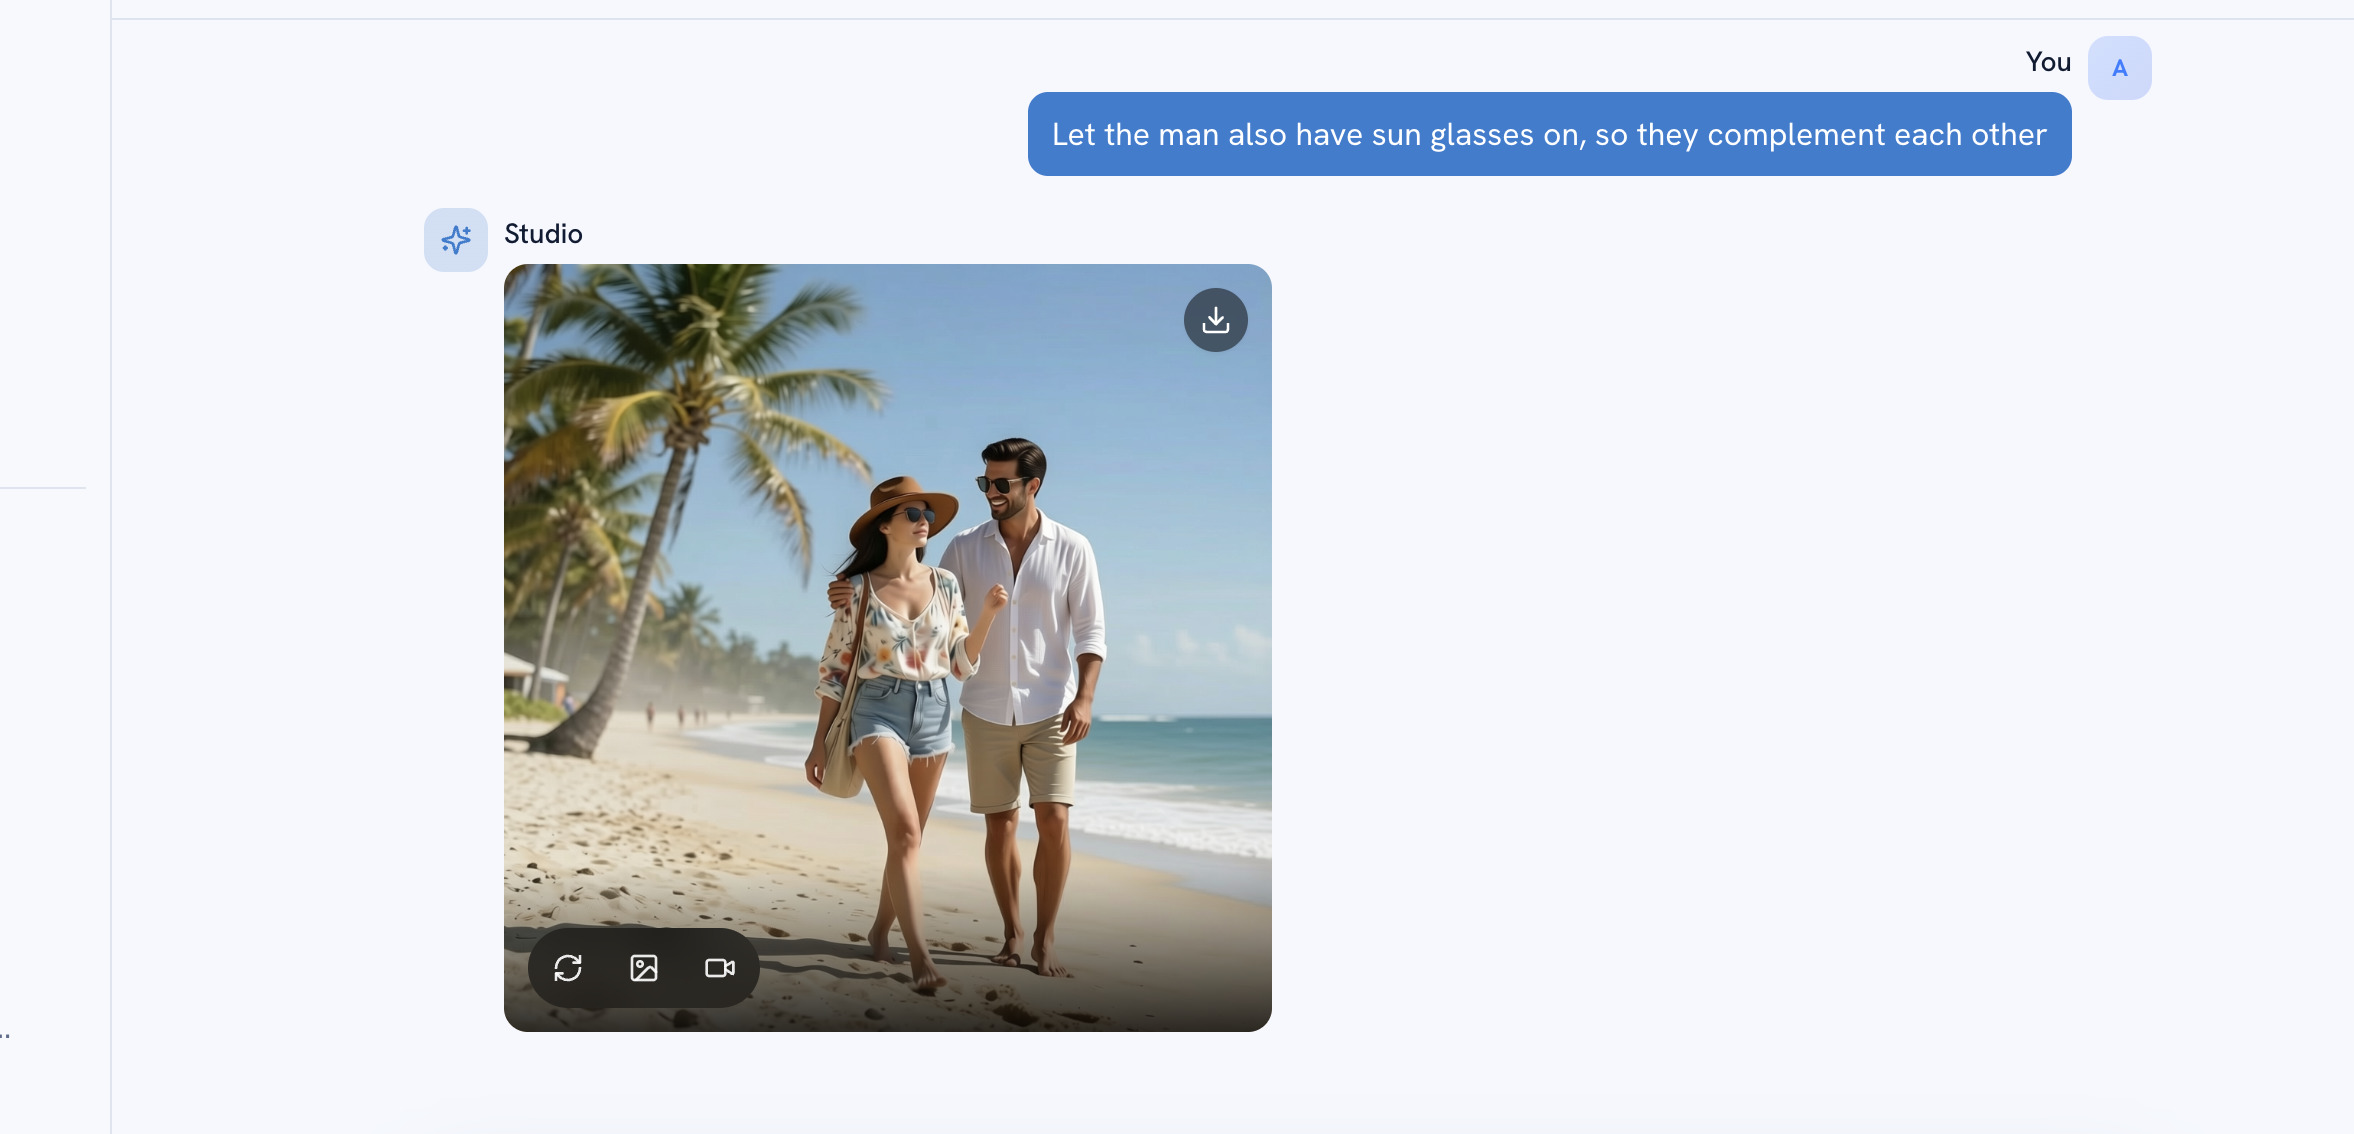
Once the second person was added, one more detail was missing. The final prompt was let the man also have sunglasses on, so they complement each other. Within seconds, the new accessory was added and the whole image came together as a polished, cohesive final result.
Why this matters
Traditional photo editing means layers, masks, and software most people never learn properly. Creative AI replaces all of that with plain language. You say what you want changed, and the AI handles the rest, keeping the parts you like and adjusting only what you ask for.
This same step by step approach works for almost anything, product photos, social media content, profile pictures, marketing visuals, or just creative experiments. Start with one idea, then shape it through conversation until it matches what is in your head.
Ready to try it yourself
Head to creativeai.chat, switch to Studio mode, and describe the first image you want to create. Once it appears, keep talking to it. Add people, change outfits, adjust the background, or fix small details, one prompt at a time, until the result is exactly right.